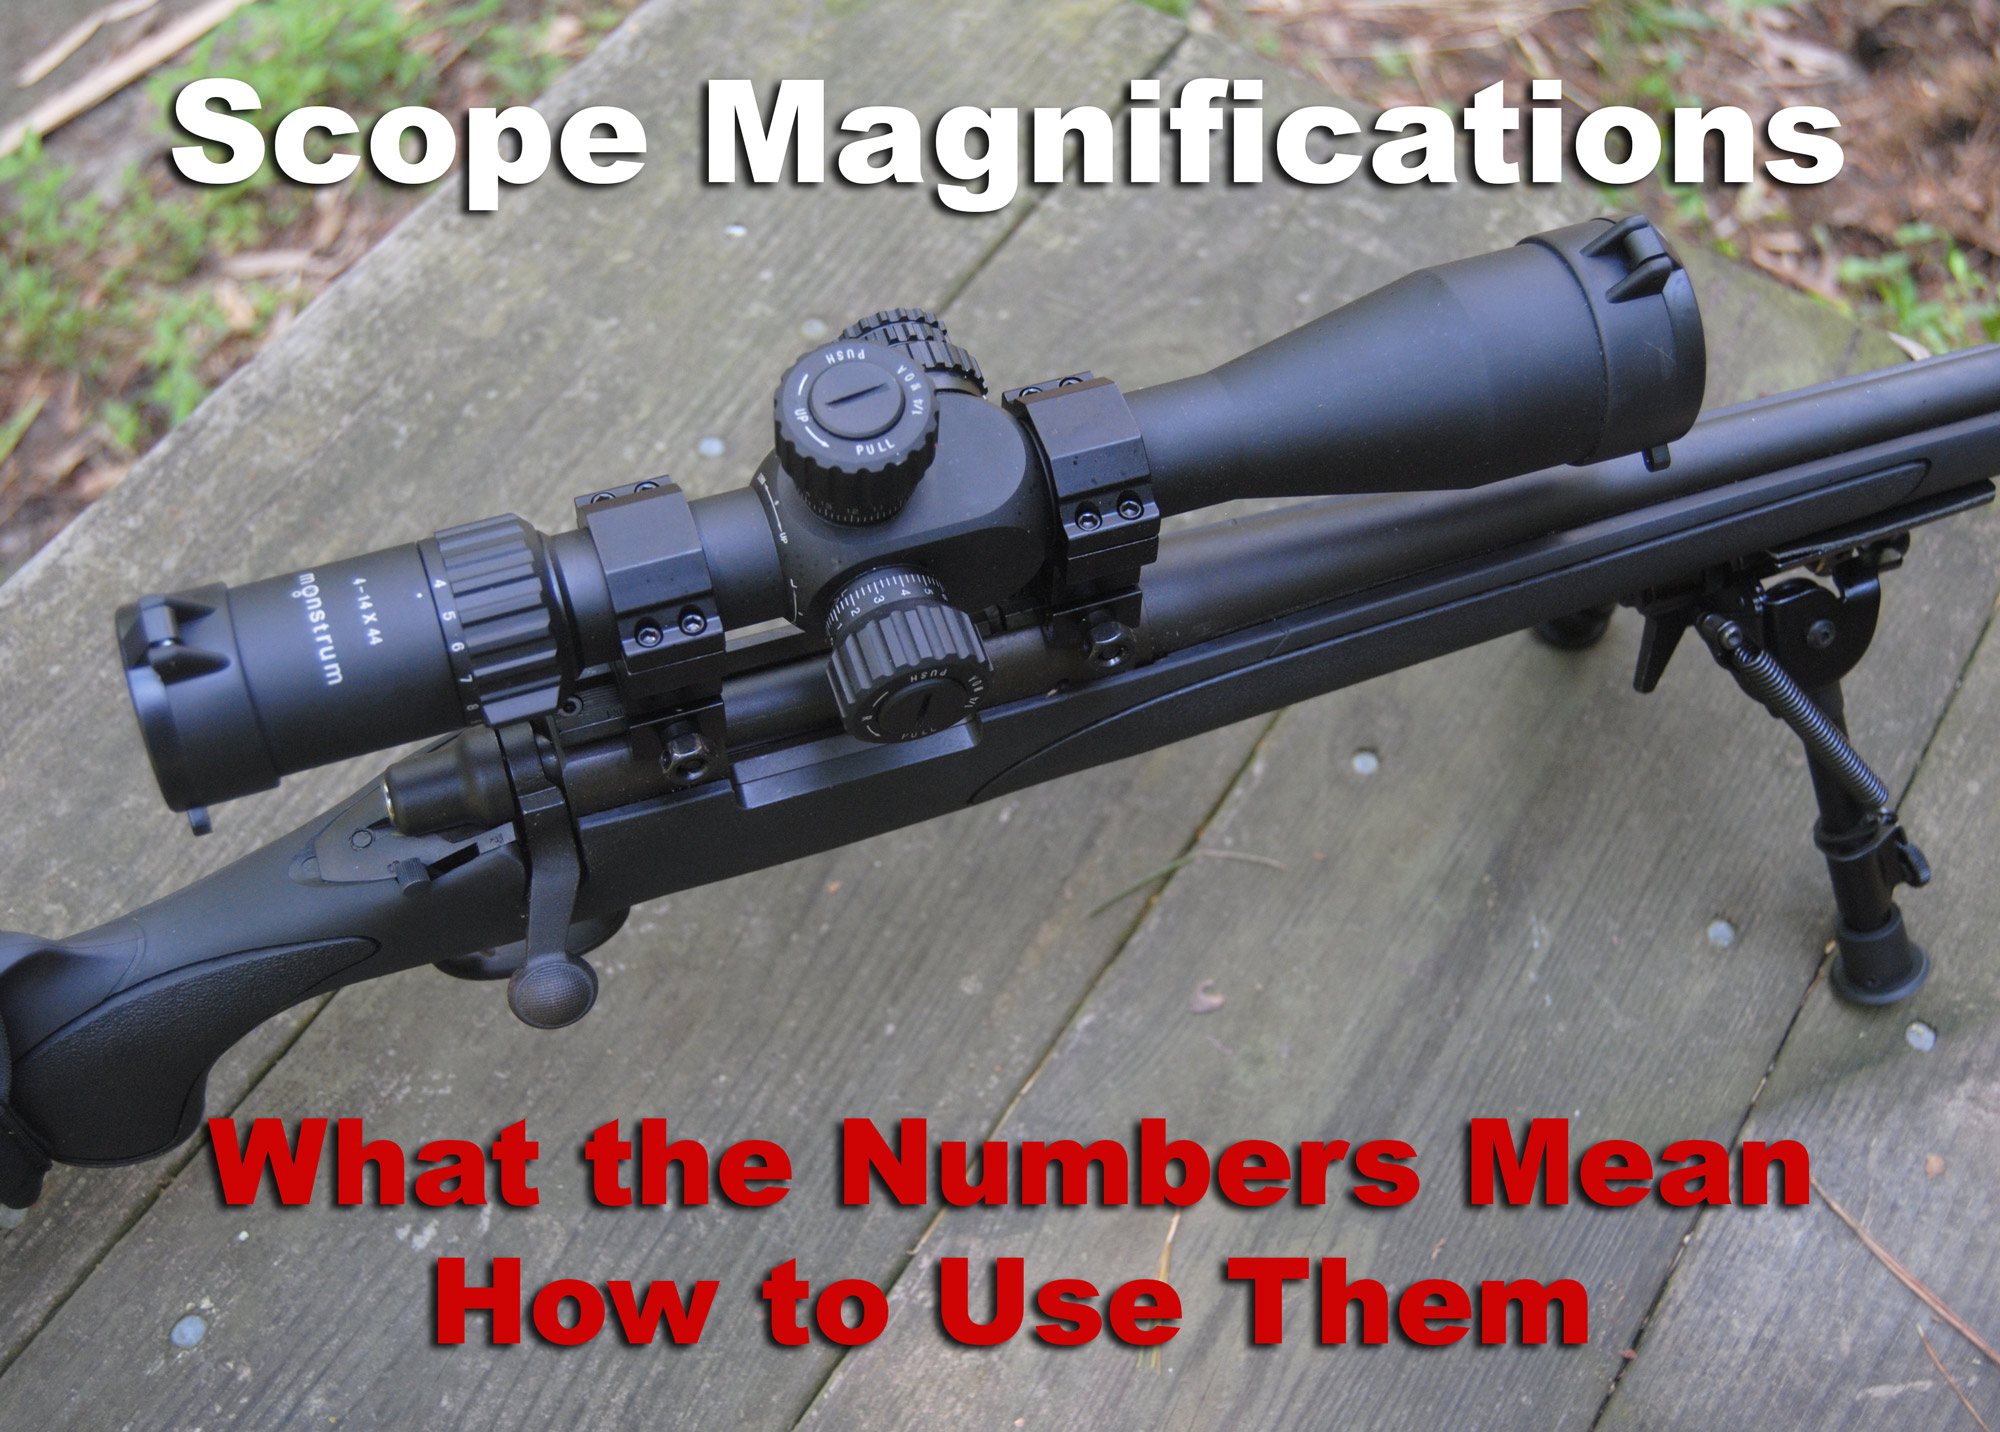
A guide to scope magnifications, how to use the numbers to get the most out of your gear and some suggestions for what you should use.
If you are a hunter, you probably want to top your rifle with a quality optic. However, you don’t want to settle for just any old scope. When that once-in-a-lifetime buck steps out at the edge of the bean field just before dark, you want a scope that isn’t going to fail you.
Sure there are cheap options out there, but your optic isn’t where you want to pinch pennies. No matter what the salesman at the brightly-lit sporting goods store tries to sell you (Has he ever hunted the edge of a bean field?), you don’t want to invest major moola into a hunting rifle only to top it with a low-quality scope. That fancy expensive rifle can’t hit what you can’t see, so take buying a scope as seriously as you take purchasing a rifle. We realize the process of picking out a scope, deciphering the scope magnification and abbreviations can be a bit daunting.
What The Letters & Numbers Mean
If you’re new to rifle scopes, you might not know where to start. All the acronyms, numbers, and technical specs make the world of optics look like a complicated algebra problem. It’s enough to trigger some major math anxiety.
Luckily, it looks far more complicated than it actually is. Once you have a basic understanding of what all those letters and numbers actually mean, choosing a quality optic will be a heck of a lot easier.
Scope Magnification
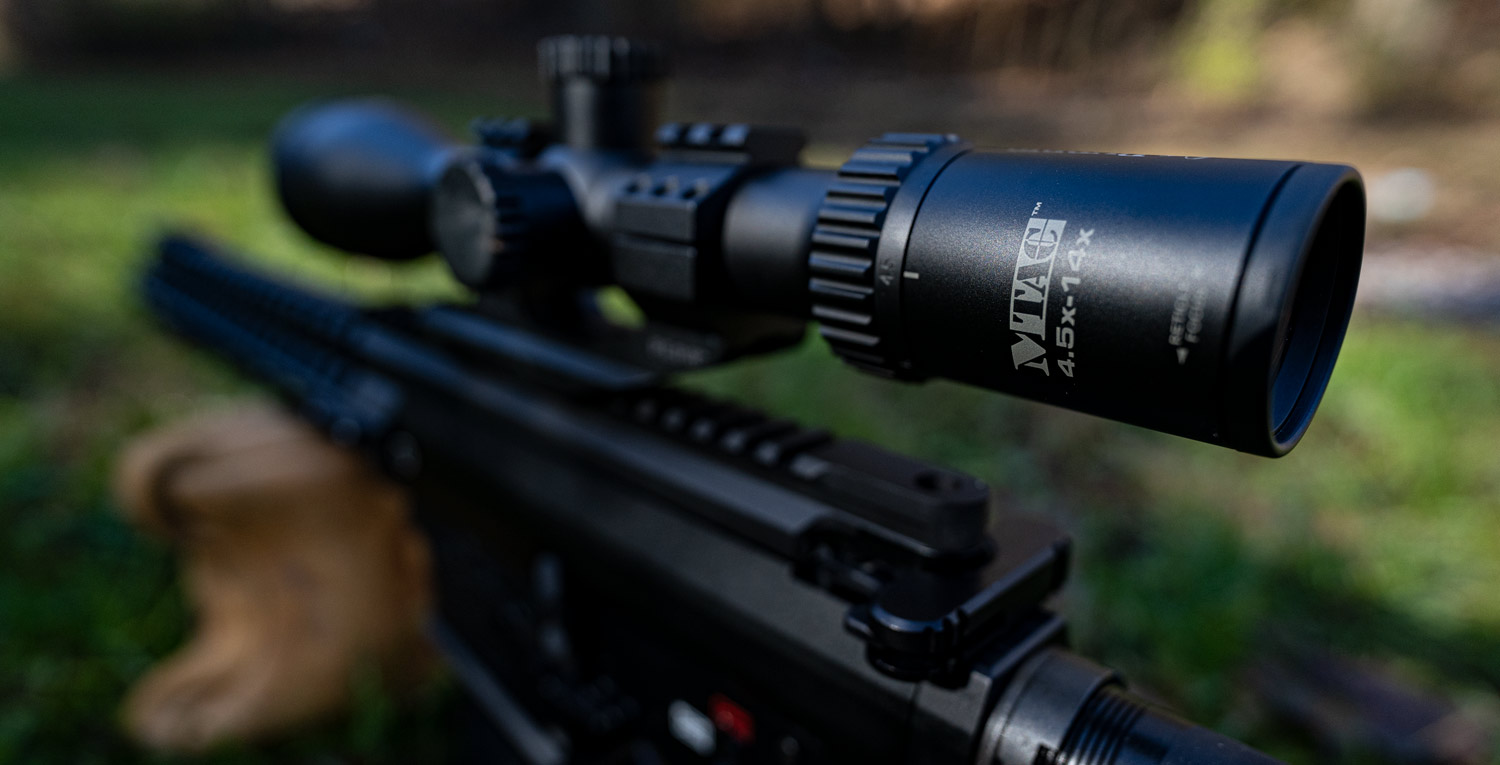
In most cases, the first one or two numbers on a scope’s label indicate magnification. These are the numbers that precede the X. If you are looking through a 4x scope, the image will appear 4 times larger than what you see with the naked eye.
If you’re looking at a fixed power scope, there will be a single number representing the fixed magnification.
Dashed Numbers for Scope Magnification
When the label has two numbers with a dash between them, this indicates the scope has an adjustable magnification. A scope with adjustable magnification gives you the ability to zoom in or out for different shooting conditions. A 3-9x scope has a magnification of 3 times at its lowest setting, and the image will appear 9 times larger at full magnification.
Objective Lens
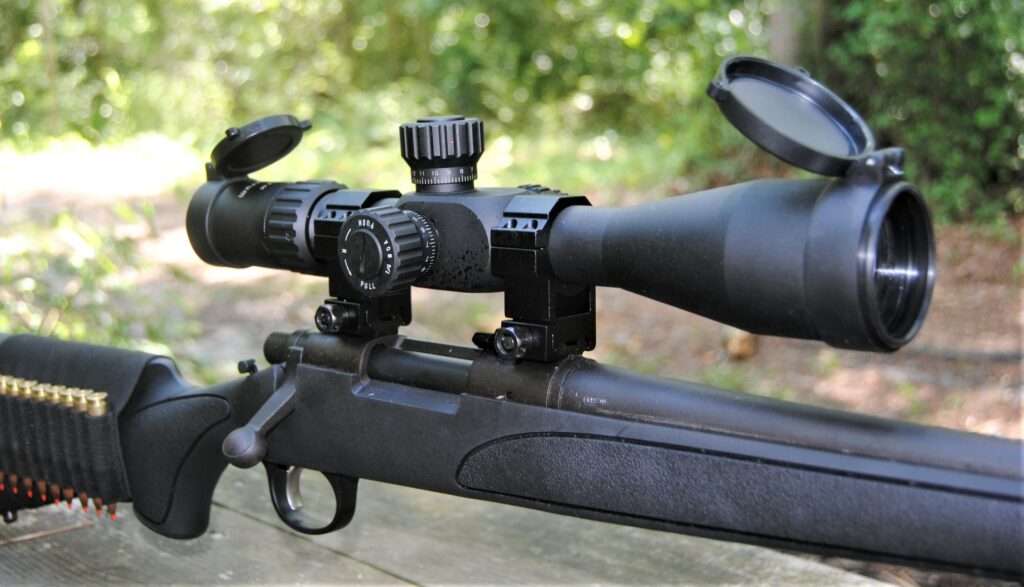
The objective lens is usually larger than the rest of the scope, because its job is to let light in. Just like large windows help light a room, a large objective lens lights up the image you see when you look through the scope.
The number that follows the X indicates the diameter of the objective lens in millimeters. Generally speaking, the larger the objective lens, the brighter the viewed image.
What Letters on Scopes Mean
Depending on the scope, the box may also include a bunch of letters. These letters look an awful lot like alphabet soup if you don’t know what they mean.
Usually, the letters simply indicate the model name. (For example, the Leupold VX-3i.)
If the letters come immediately before the scope magnification numbers or immediately after the objective lens number, they can indicate an important piece of information about the scope you’re looking at.
Here is a list of some common letters and their meaning:
What is AO?
The average deer hunter doesn’t need to be too concerned about parallax. Most rifle scopes are set to be parallax free at typical hunting ranges (usually between 100 and 150 yards). If you’re hunting within that range, you really don’t need massive magnification (where parallax becomes more of an issue).
However, small inconsistencies in cheek and eye placement can have a huge effect on long-range accuracy, especially when you’re using a scope with 10x (or more) magnification. At these higher magnifications, an adjustable objective lens will help you get those pesky crosshairs to sit still and stay on target.
FFP
FFP indicates the scope’s reticle is located on the first focal plane. First focal plane optics have the reticle placed near the front of the scope. When you increase magnification on an FFP scope, the size of the reticle increases with the image. FFP scopes tend to be more expensive, but are helpful for achieving accuracy at extreme ranges.
Most hunters prefer an FFP scope because they offer greater shooting versatility. When you’re hunting, you never know if that big buck is going to walk out at 50 yards or 500. An FFP scope allows you to make simple accurate adjustments to match the range you’re shooting.
SFP
SFP stands for “second focal plane.” An SFP scope has its reticle placed close to the rear of the optic. When you adjust the magnification on an SFP scope, the reticle does not change in size. If most of your hunting shots fall within the same general range, an SFP scope should do the job.
MIL (or MRAD)
You might be surprised to learn than MIL has nothing to do with the military. Instead, MIL refers to a scope that adjusts elevation and windage in milliradians. A milliradian is an angular measurement. If you see MIL on a scope label, don’t let the math anxiety kick in. Instead, remain calm.
MIL scopes have small dots on the horizontal and vertical crosshairs. You can use these measurements to compensate for crosswinds or bullet drop over distance. This style of reticle is useful for long-range shooting, although they also benefit crossbow and muzzleloader hunters who have to deal with more drastic drop over distance.
MOA
MOA is an acronym that stands for “minute of angle.” In this context a “minute” has nothing to do with time. Instead, a “minute” is a tiny portion of an angle. There’s no reason to get overly bogged down in the geometry. If you purchase an MOA scope, this means the crosshairs will have hash marks that serve a similar purpose to the dots on a MIL-dot scope. Basically, MOA uses American measurements (think inches and yards), while MIL-dot uses the metric system.
FOV
Field of View is the amount of area from left to right that you can see when looking through the scope. FOV is usually measured at 100 hundred yards. As magnification of the scope increases, FOV narrows.
If you hunt thick woods or regularly shoot game on the move, a scope with a wide field of view (and a lower magnification) will help you acquire targets more effectively. A wide FOV is not as necessary for lining up long-range targets, although it can come in handy when shooting smaller targets.
IER
Short for “intermediate eye relief,” IER scopes have a much longer eye relief than conventional scopes. These scopes are usually designed for scout type rifle setups. Mounted forward of the receiver, these scopes are ideal for older lever action rifles that eject upward from the top of the action.
EER
EER stands for “extended eye relief.” As the name implies, EER scopes have an extra lengthy eye relief. These scopes are designed specifically for handguns.
Other Scope Variables to Consider
Once you have deciphered the numbers and letters on the box, there are some other important qualities to look for in a good optic.
Glass Quality
Don’t be lulled by how those cheap budget scopes look under the bright lights of the sales floor. Everything looks good there. As far as I know, no mule deer or bull elk have ever waltzed through the middle of showroom floor. No, those boogers slink into view when there’s barely enough light for humans to see. You want a scope that performs in low light, not one that looks pretty t the store.
When it comes to the quality of your optic glass, you definitely get what you pay for. Good quality glass is going to cost you, but it earns its keep by minimizing color fringing to provide razor sharp images with true colors and clear contrast. Look for an optic that features extra-low-dispersion glass (or some other premium variation).
A scope with quality glass is also going to coat that glass to maximize brightness and minimize glare. There are four standard terms used in the optics industry to indicate different levels of glass coating. They are:
Coated – a single layer of coating on at least one lens.
- Fully-coated – a single layer of coating on all glass surfaces exposed to air.
- Multi-coated – multiple layers applied to at least one lens surface.
- Fully Multi-coated – multiple layers of coating on all glass surfaces exposed to air.
For maximum brightness, look for a scope with lenses that are fully multi-coated. This will help maximize light transmission and help you make those difficult low-light shots. However, you shouldn’t place too much emphasis on brightness. Although brightness is a handy aid for those early morning shots, no expensive scope can extend legal shooting hours. As long as your scope is bright enough to see game a half hour before sunrise, it will get the job done. And you won’t have to explain any pre-dawn shots to the game warden.
Reticles
There are almost as many reticle styles to choose from as there are scopes in the display case. To find the “best” reticle, you need to consider the type of game you plan to hunt as well as the terrain and the rifle you’re going to mount it on.
A standard Duplex reticle will work for most hunters. If you hunt thick woods or often need to jump-shoot game, a thick reticle will quickly become your best friend. However, if you shoot small game or varmints at longer ranges, you’ll want finer crosshairs to hit the sweet spot on those smaller targets.
For long-range hunting, especially if you regularly shoot game beyond 200 yards, you’ll be better served with a MIL-dot or MOA reticle.
An illuminated reticle is handy for sighting game in low-light conditions. If you hunt crepuscular animals like whitetails, mule deer, or coyotes, an illuminated reticle is highly recommended for those tough twilight shots. However, check your local regulations. Illuminated reticles are illegal in some areas.
Turrets and Adjustments
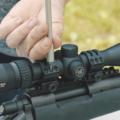
Turrets are the dials used to adjust the reticle for accuracy. You will use them to properly zero your scope once you have it mounted on your rifle. The dial located on the top of the scope is the elevation turret. Adjusting this knob will move the point of impact vertically. The other dial, located on the side, is the windage turret. This knob adjusts the point of impact horizontally.
Do not underestimate the importance of quality turrets. Look for a scope with turrets that audibly click with each single adjustment.
Rapid-adjusting, “tactical” turrets, have gained a serious following recently. A great option for long-range shooting, tactical style turrets speed the process of elevation- and windage-adjustments in the field, helping you quickly compensate for crosswinds and bullet drop over distance.
If you choose this type of scope, you want one with a true return-to-zero feature. This will save you the major headache of coming back to your zero after each long-distance shot.
Scope Magnification Recommendations
The species you are hunting will determine the type of scope you need to be successful. Here are some basic guidelines for a few of North America’s most popular game animals.
Varmints
Squirrels, prairie dogs, groundhogs, and other varmints are usually taken during daylight hours. However, hunting these small animals may require shots of several hundred yards. A scope with adjustable magnification will give you versatility with shot ranges, while one with serious magnification (think 10x plus) will help you hit tiny targets at extreme ranges.
Hogs and Predators
Feral pigs, coyotes, and foxes creep out of the woodwork after the sun calls it a day, so you’ll need a large objective lens for the best light transmission. When it comes to hogs and predators, the bigger the better. We highly recommend you have an objective lens of at least 50 mm, otherwise you might as well stay home.
Investing in a scope with an illuminated reticle with an uncomplicated crosshair design is also a good idea. Complicated reticles have a tendency to just get in the way when you’re night hunting.
Your longest shot is unlikely to be over 150 yards, so a scope with 2x to 9x magnification is probably all you need. However, you may want a little more if you’re hunting open grassland or big fields.
Scope Magnification for Whitetail Deer
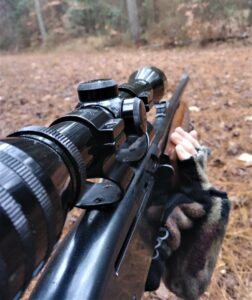
Unless you are hunting big bucks across vast Kansas wheat fields, anything over 10x magnification is probably a waste, only adding unwanted weight and bulk to your hunting weapon. If you hunt in the brush, you may want to consider a scope with low magnification (or even no magnification) to offer the widest FOV. Anything over 4x in thick woods is going to be a hindrance on most shots. For hunters who regularly hunt the woods and edges of rural cropland, 3x to 9x is a good all-around option.
Because most deer are shot in the hours around dusk and dawn, a scope with multi-coated glass will help you make those tough low light shots. You may want to consider an illuminated reticle as well.
Finally, look for a scope with a nice matte finish. Anything shiny that reflects light is going to send whitetails heading swiftly in the opposite direction. These days, it’s getting harder to find many scopes with a shiny finish.
Pronghorn Antelope
The average shooting distance for antelope is hands down the longest of any big game animal in North America. Rapid-adjusting turrets will help you compensate for wind and bullet drop on those extreme distance shots.
A pronghorn’s “kill zone” is also relatively small, so you’ll want a scope with a minimum of 10x magnification. However, an optic with adjustable magnification will be handy in case you’re lucky enough to encounter an antelope within 150 yards.
Picking the Right Scope Magnification for Elk
Like whitetails, elk are crepuscular, meaning they are most active at dawn and dusk. Again, look for a scope with multi-coated glass. Most elk hunters find themselves hunting over rough terrain where a massive objective lens is just going to get in the way, so focus on glass quality to provide the bright, sharp images.
A scope with variable magnification in the 2x to 12x range will serve most elk hunters well.
If takes a pretty powerful cartridge to bring down a mature bull elk, so make sure your scope can handle significant recoil and still hold zero. You may also need a little extra eye relief to save your face from punishing recoil.
Final Thoughts on Scope Magnification
While a good quality scope can improve your odds of filling your tags, it is important to remember it isn’t the gear that makes the hunter. No optic, no matter how many features it has or how much you paid for it, is a substitute for skill. Ultimately, it is the hunter that makes the shot, not the scope.
Before you hit the woods, fields, or mountains this hunting season, be sure to take time to properly sight in your new scope. After you’ve established your zero, spend some time sending lead downrange in practice. It will help you gain proficiency and confidence with your new hunting set-up. A well-placed shot is the only thing that will bring down that big bull or buck quickly and humanely. At the end of the day, that should be our goal, no matter which type of scope we choose to mount on our rifles.
 Coated – a single layer of coating on at least one lens.